
Aluminium staging
Aluminium is light, corrosion resistant and well matched to many aluminium greenhouse frames. Slatted tops let drainage water and loose compost fall through, although small pots may need trays or a flat insert.
Serving United Kingdom & surrounding areas
Est. 2026
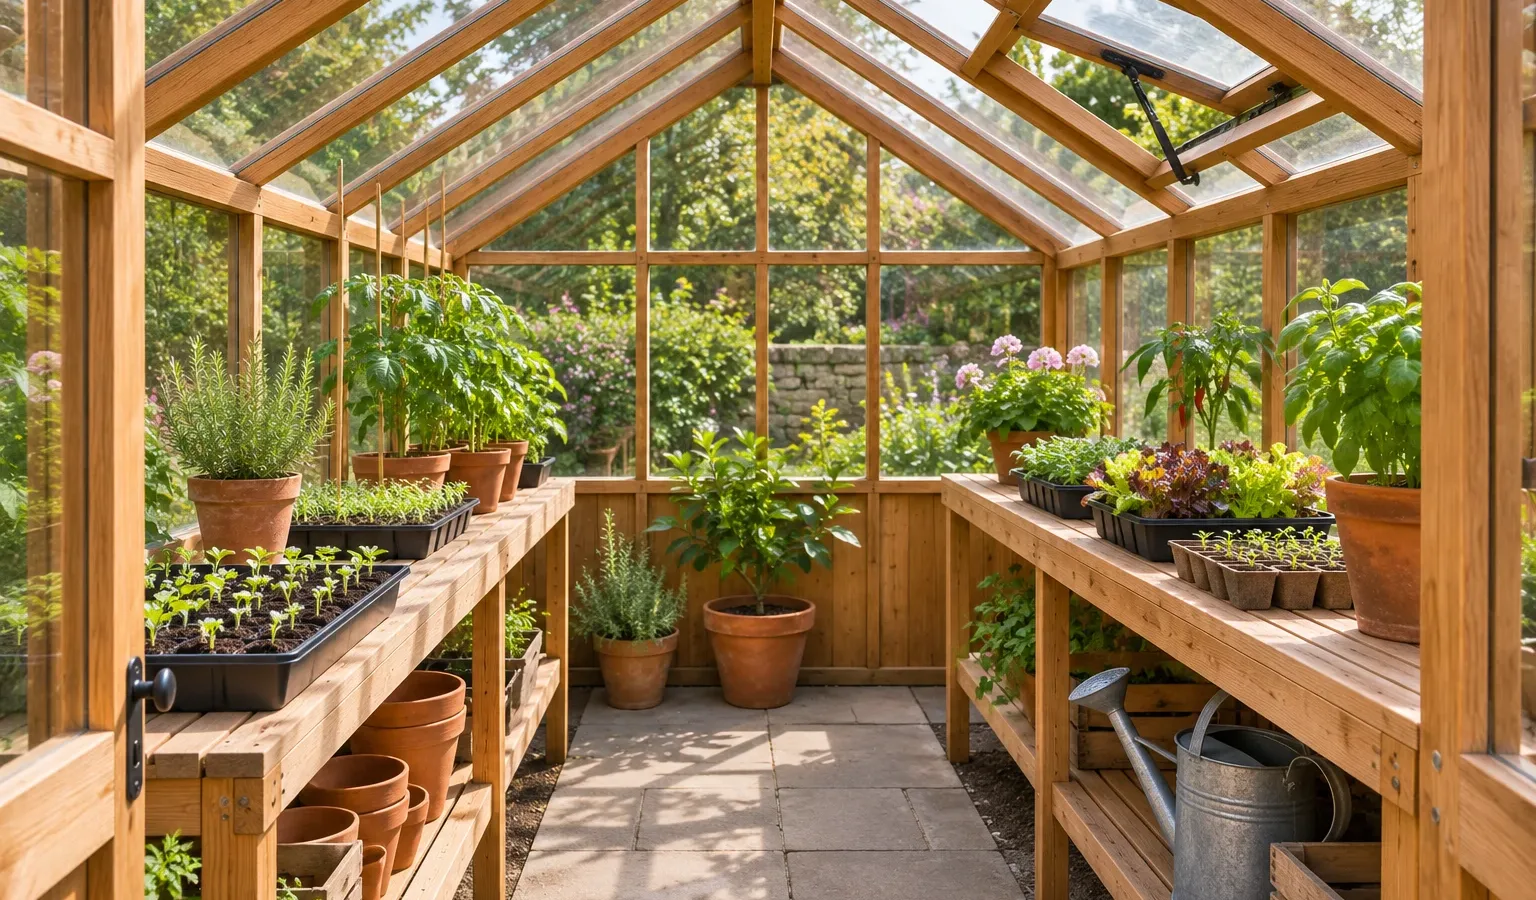
Plan comfortable access, useful growing space and practical storage before choosing benches or shelves.
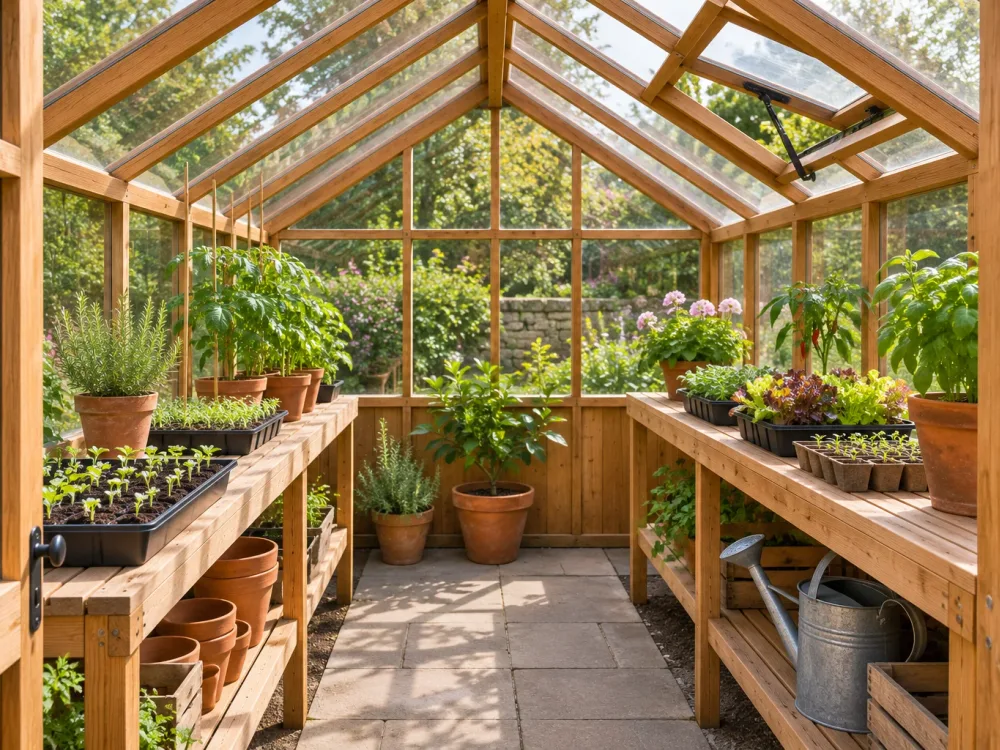
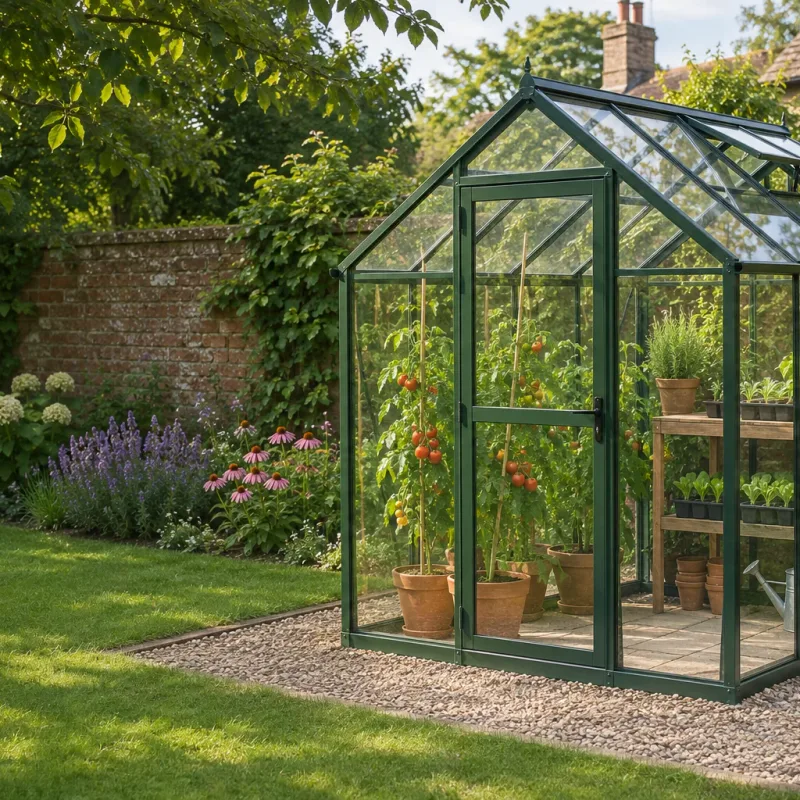
Good greenhouse staging puts plants at a comfortable working height, keeps the path usable and makes better use of the space beneath the bench. The right arrangement depends on what you intend to grow. Seed trays and propagation equipment need broad, level surfaces, while tall tomatoes and cucumbers need clear floor-to-roof space.
Start with the greenhouse's internal dimensions rather than its nominal external size. Door openings, diagonal frame braces, roof vents, downpipes and base lips can reduce usable room. Allow for pots that project beyond a shelf and for plants that become much wider during summer. A layout that looks generous when empty can become awkward once foliage fills the aisle.
Greenhouse Guide UK is an independent buying-guide and comparison business founded in 2026 by Stephen Meredith. We use clearly sourced product specifications and original editorial explanations to help UK gardeners compare greenhouses, staging and related choices. We do not sell, manufacture, install or deliver these products, and purchases take place with the retailer.
A main bench is commonly placed along one long wall, with a clear route from the door to the far end. In a wider greenhouse, staging can run along both sides. In a compact model, one full-depth bench and a narrower shelf opposite may be more useful than two benches that pinch the aisle.
For seed trays, small pots and general propagation, a working depth of roughly 45 to 60 cm is practical. Deeper surfaces hold more plants but make the back row harder to reach, especially when the staging sits against glazing. Before buying, mark the proposed footprint on the floor and check that you can turn, crouch and carry a watering can through the remaining path.
Height matters too. Waist-height greenhouse benches reduce bending during sowing and potting, but there is no single correct measurement. Choose a height that suits the main gardener and leaves useful headroom for the plants. Adjustable legs can help on an uneven slab, while staging placed on paving should still be level and stable before trays are loaded.
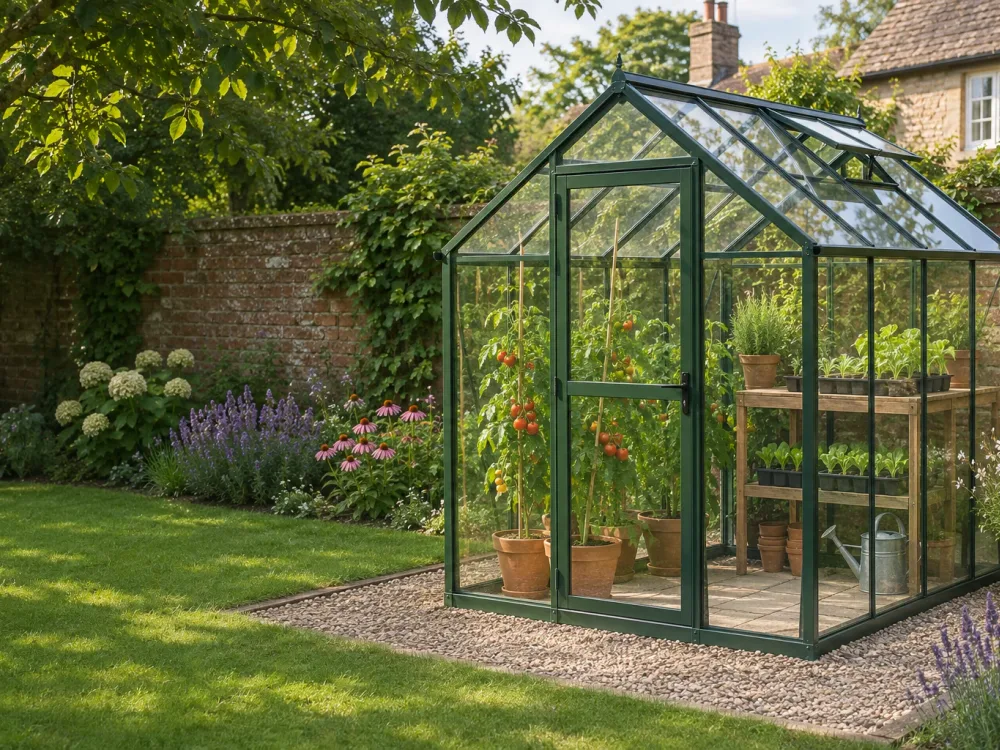
Aluminium is light, corrosion resistant and well matched to many aluminium greenhouse frames. Slatted tops let drainage water and loose compost fall through, although small pots may need trays or a flat insert.
Steel staging can provide a firm platform, but its load rating, coating and fixings should be checked. Any damaged protective finish needs attention because persistent greenhouse moisture can encourage corrosion.
Timber has a traditional appearance and is easy to adapt. Use wood suited to damp conditions, keep feet away from standing water and check joints periodically. Avoid treatments that are unsuitable around edible crops.
Plastic shelves are easy to wipe clean and useful for lighter pots or supplies. Check resistance to ultraviolet light, shelf capacity and whether the unit can be secured against tipping.
Open tops improve drainage and air movement around trays. Solid tops contain compost and create a potting surface, but water must not be allowed to collect.
Freestanding units are easier to rearrange. Frame-mounted shelves preserve floor area, but they must be compatible with the greenhouse system and fitted within the manufacturer's stated load limits.
Greenhouse shelving is best used for lighter items, young plants and short pots. A narrow shelf mounted above staging can add capacity without taking floor space, but it may shade plants underneath. Position sun-loving seedlings where they receive adequate light and reserve darker lower levels for empty pots, tools or crops that tolerate partial shade.
Shelves should never obstruct roof vents, automatic vent openers or door movement. Keep plants away from glazing so leaves are not pressed against cold glass or hot polycarbonate. If shelves attach to glazing bars, use fittings intended for that frame profile rather than drilling into the structure. Check the greenhouse manufacturer's instructions before adding concentrated loads.
UK conditions make flexible layouts worthwhile. Low winter sun creates longer internal shadows, while summer crops can quickly occupy roof height. Removable shelves allow the arrangement to change between spring propagation and summer growing. Ventilation should guide the layout as well: tall plants and stacked trays should not block the movement of air between low-level openings and roof vents.
The area beneath a bench is useful for bags of compost, watering cans, clean pots and other bulky items. Keep frequently used supplies close to the door and place seasonal equipment farther back. Open storage is easy to inspect, while lidded containers protect labels, twine and hand tools from moisture.
Do not let storage close off the whole lower level if air circulation is needed around plants on the bench. Heavy items belong low down, not on an upper shelf. Chemicals and sharp tools should be stored securely and according to their labels, away from children, pets and edible produce.
A dedicated potting area benefits from a solid, wipeable surface with a raised edge or removable tray. It does not need to occupy the whole bench. Combining a short potting zone with slatted growing space gives seedlings drainage while keeping loose compost contained where work takes place.
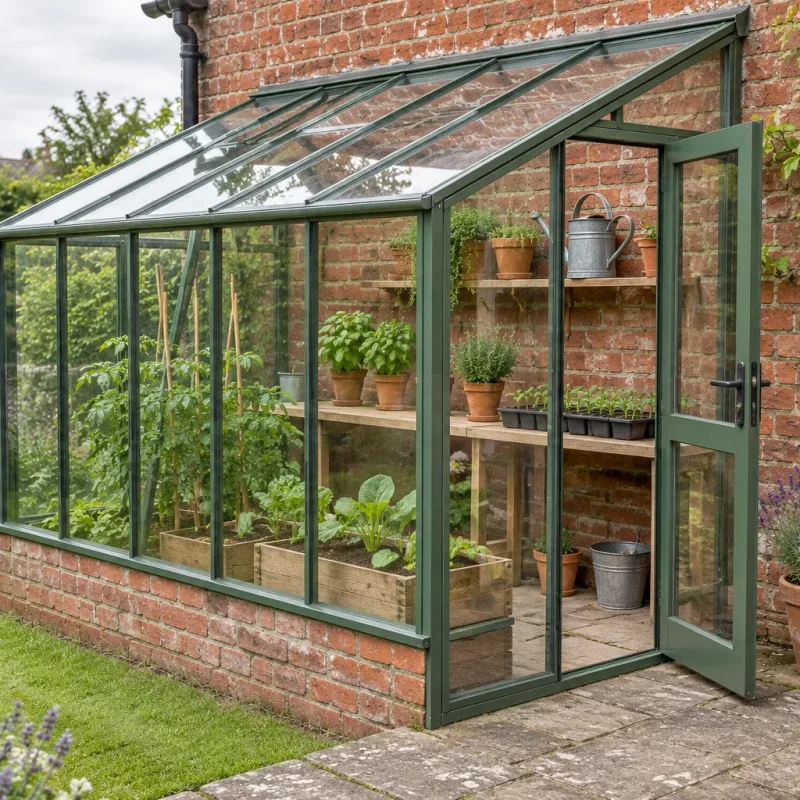
Record the internal length and width, door opening, eaves height and positions of braces, vents and glazing bars. Measure at several points because a base kerb or frame member may change the available width.
Separate plants that need bench space from tall crops that grow at floor level. Include room for sowing, pricking out, watering and moving full trays.
Lay out the proposed bench footprint with masking tape, string or cardboard. Walk through carrying the equipment you normally use and confirm that the door still opens fully.
Compare dimensions, materials, load ratings and attachment methods. Check whether shelves fit the greenhouse frame profile and whether freestanding legs can be levelled.
Assemble each unit according to its instructions, level it and secure it where required. Add weight gradually and keep the heaviest pots on the strongest, lowest surface.
Remove or reposition shelves as plants grow. Keep vents, paths and doorways clear, and clean staging before a new propagation cycle.
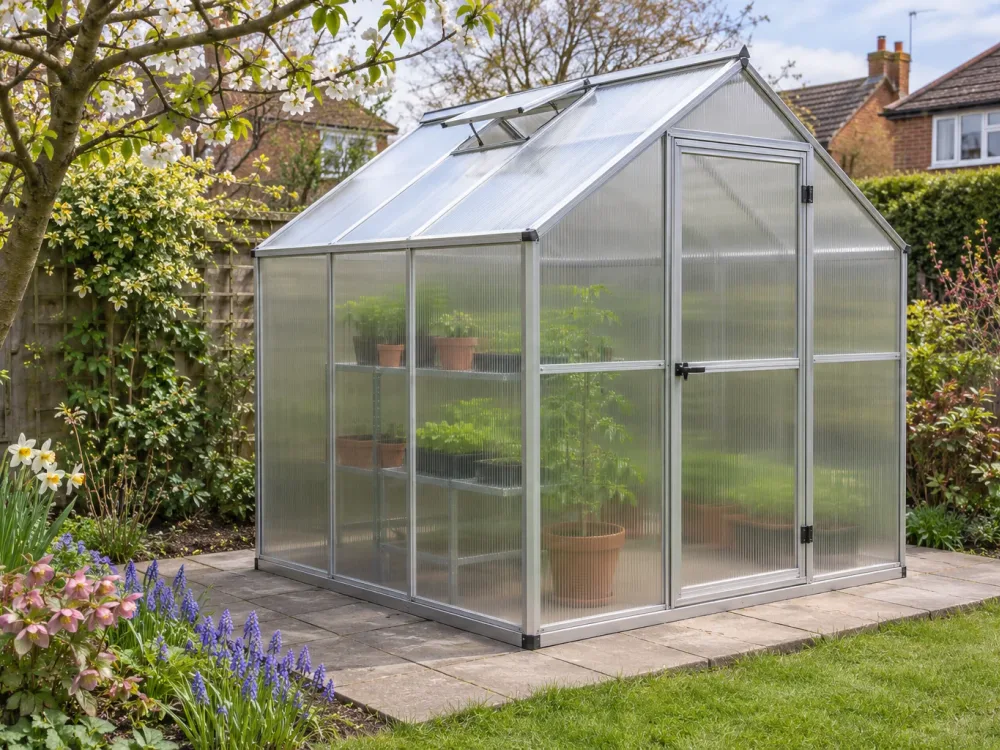
A depth of about 45 to 60 cm works well for many seed trays and small pots, provided you can comfortably reach the back. Measure the remaining aisle and account for foliage or trays projecting beyond the edge. A narrower bench is usually more usable than a deep surface that cannot be reached safely.
Aluminium generally needs less maintenance, while timber is easier to adapt and has a traditional appearance. The better choice depends on load capacity, exposure to moisture and the amount of upkeep you accept. Compare the retailer's stated dimensions and load limits rather than choosing on material alone.
Shelving can attach to some greenhouse frames when the shelf and fixings are designed for that specific glazing-bar profile. Follow the manufacturer's instructions and stated load limit. Do not drill structural members or glazing without explicit approval, and keep shelves clear of vents and automatic openers.
Upper shelves can shade the growing surface, particularly when the UK sun is low in winter. Narrow, slatted or removable shelves reduce the effect, but plant placement still matters. Put crops with higher light needs in the clearest position and move shelves as seasonal light levels and plant sizes change.
Leave enough room to enter, turn and carry a watering can or full tray without brushing against glazing or plants. There is no universal aisle width because the gardener, doorway and equipment differ. Mark the arrangement at full size before ordering, then test it while wearing normal gardening clothing.
Household shelving is suitable only if it can tolerate persistent humidity, temperature changes and the intended weight. Check for corrosion-prone fixings, moisture-sensitive boards and instability on the greenhouse floor. Outdoor-rated or purpose-made greenhouse shelving is usually easier to assess for these conditions.
No. Greenhouse Guide UK is an independent UK buying-guide and comparison business and does not sell, manufacture, install or deliver greenhouse staging. Product purchases take place on the linked retailer's own service, so confirm stock, delivery terms, dimensions and compatibility directly with that retailer before ordering.
Use Greenhouse Guide UK's independent editorial guidance to compare dimensions, materials and layouts before choosing staging or shelving from a retailer.